How to Test Car Alternator Output Safely
A battery warning light on the dash is not always a dead battery. Often, the battery is doing its job but is no longer being recharged while you drive. Knowing how to test a car alternator can help you narrow down the problem before a no-start leaves you stuck at home, at work, or on the side of the road.
The alternator supplies electrical power once the engine is running. It keeps the battery charged and runs major systems including headlights, ignition, climate control, wipers, infotainment, and vehicle electronics. If charging output is too low, the battery gradually drains. If it is too high, it can damage the battery and sensitive electrical components.
A basic multimeter test is useful for many vehicles, but it is only one part of a proper diagnosis. Modern cars with smart charging systems can change voltage depending on battery condition, engine load, temperature, and driving conditions. Use the readings below as practical guidance, then get the charging system checked if the results are questionable.
Signs Your Alternator May Have a Problem
An alternator usually gives some warning before it fails completely. The most obvious sign is a battery or charging-system warning light, but do not assume the alternator is at fault without testing. A loose battery terminal, worn drive belt, damaged cable, failing battery, or wiring issue can create similar symptoms.
Watch for headlights that dim at idle and brighten when you rev the engine, slow power windows, a flickering dashboard, or an electrical burning smell. You may also notice a whining sound that changes with engine speed. On a work vehicle, weak charging can show up when accessories such as a fridge, trailer lights, work lights, or a phone charger are running.
If the engine cranks slowly after a short drive, or the vehicle repeatedly needs jump-starting, the charging system needs attention. A battery can pass a basic voltage check yet still be weak under load, so avoid replacing parts based on one symptom alone.
What You Need to Test Car Alternator Output
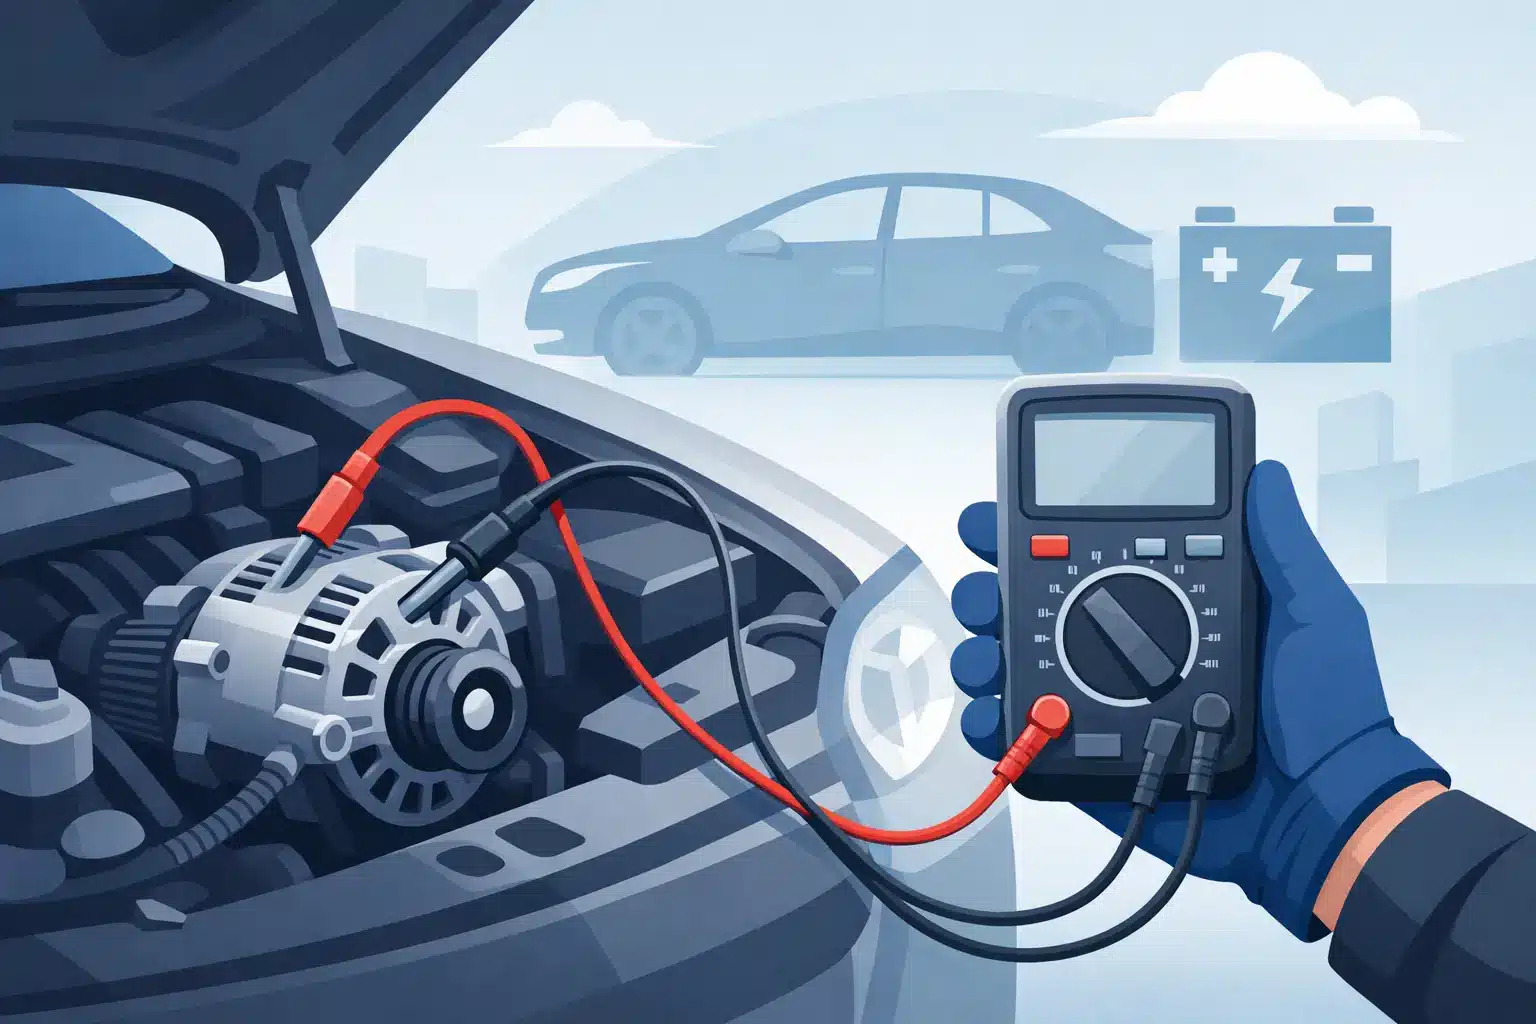
For a safe first check, you need a digital multimeter set to DC volts. Most inexpensive multimeters are accurate enough for charging-system testing. Wear eye protection, keep loose clothing and tools away from belts and fans, and work on level ground with the parking brake applied.
Before starting, inspect the battery terminals. They should be tight, clean, and free from heavy corrosion. Also look at the serpentine belt that drives the alternator. If it is cracked, glazed, loose, contaminated with oil, or making noise, the alternator may not spin fast enough to charge properly. On some vehicles, the belt tensioner or pulley can be the actual fault.
Do not test an alternator by disconnecting the battery while the engine is running. This old shortcut can cause voltage spikes and may damage computers, sensors, and other electronics in modern vehicles.
Step 1: Check Battery Voltage With the Engine Off
Turn the engine off and switch off lights, radio, chargers, and other accessories. If the vehicle has just been driven, let it sit for a few minutes so the surface charge settles.
Set the multimeter to DC volts. Touch the red probe to the positive battery terminal and the black probe to the negative terminal. A healthy, fully charged conventional 12-volt battery will commonly read about 12.6 volts with the engine off. Readings around 12.4 volts can still be acceptable, but they suggest the battery is not fully charged.
A reading near 12.2 volts indicates a low battery. Below 12 volts means the battery is significantly discharged or may have a fault. Charge the battery before judging alternator performance, because a deeply discharged or damaged battery can distort the test and put extra strain on the charging system.
Step 2: Measure Charging Voltage at Idle
Start the engine and let it idle. Keep the multimeter probes on the battery terminals and record the voltage.
Many standard charging systems will show roughly 13.7 to 14.7 volts at idle. That increase over the engine-off reading confirms the alternator is charging. If voltage stays close to the resting battery voltage, such as 12.2 to 12.6 volts, the alternator may not be charging, the belt may be slipping, or there could be a wiring, fuse, or control-system issue.
A reading consistently above about 15 volts deserves prompt attention. Overcharging can boil electrolyte out of some batteries, shorten battery life, and create electrical problems. The cause might be a faulty voltage regulator, although many late-model vehicles control alternator output through the engine computer rather than a separate regulator.
A Note on Smart Charging Systems
Some newer vehicles intentionally vary alternator voltage. You may see a lower reading shortly after startup or during light electrical demand, then a higher reading when the vehicle decides the battery needs charging. In these systems, a number outside the traditional range is not automatically a failure.
If you have a smart charging vehicle, look for a warning light, stored fault codes, poor battery performance, or unstable voltage rather than relying on one idle reading. A workshop-level scan tool and battery tester give a more accurate answer.
Step 3: Check Voltage Under Electrical Load
With the engine running, switch on several electrical loads. Headlights, cabin fan, rear defroster, and air conditioning are good examples. If it is safe to do so, raise engine speed slightly to around 1,500 to 2,000 rpm and watch the meter.
The voltage should remain reasonably stable and generally stay above the battery’s resting voltage. On many vehicles, it will remain in the low-to-mid 13-volt range or higher. A brief movement is normal. A steady fall toward 12 volts while accessories are on suggests the alternator cannot keep up, or there is excessive resistance in the battery cables or ground connections.
Do not hold the engine at higher rpm for long while working under the hood. Keep hands, probes, and cables clear of moving parts at all times.
When the Reading Does Not Tell the Whole Story
A multimeter checks voltage, but it does not fully test alternator current output or internal diode condition. An alternator can produce a normal-looking voltage with little electrical load, then fail when the vehicle needs more power. Bad diodes can also create AC ripple, which may cause flickering lights, electronic faults, or a battery that never fully charges.
Professional charging-system testing checks battery health, alternator output under load, voltage drop through positive and ground cables, belt operation, and fault codes. This matters on vehicles with stop-start systems, AGM batteries, dual batteries, aftermarket accessories, or heavy-duty electrical demands.
It also helps separate an alternator problem from a parasitic battery drain. If the battery goes flat after sitting overnight but the alternator produces correct charging voltage while driving, an accessory or electrical circuit may be draining power with the engine off.
Common Mistakes to Avoid
Do not replace the alternator simply because the battery light came on. Start with terminal condition, belt condition, battery charge, and voltage checks. Likewise, do not fit a new battery without checking the charging system, because a failing alternator can quickly ruin a replacement battery.
Be careful with aftermarket batteries. The correct battery capacity, terminal layout, and battery type matter, especially on vehicles designed for AGM or enhanced flooded batteries. Some late-model cars may also need a battery reset or registration procedure after replacement so the charging system manages it correctly.
If the battery warning light is on while driving, reduce unnecessary electrical loads and arrange a check as soon as practical. If lights are fading, warning messages are appearing, the engine is running poorly, or the vehicle has stalled, it is safer to stop rather than keep driving until the battery is completely flat.
For drivers around Kingswood and Penrith, Ryan Automotive and Tyres can test the battery, alternator, belts, and charging connections in one visit. A proper diagnosis is usually cheaper than guessing at parts, and it gives you a clearer answer before a small charging issue turns into lost time and a stranded vehicle.